Given the rise of PWA for Magento 2 and following our last how-to guide, in this article we will go over the installation process of ScandiPWA, a different, react based, PWA implementation for Magento 2.
Prerequisites:
Cloudhost with Magento 2.4.1 or higher.
The host must have composer installed (All Nexcess servers have composer installed)
The host must have node < 12 installed (All Nexcess servers have node < 10 installed)
Redis/Varnish (optional)
Installation:
Once Magento is installed, we will need to login through SSH into a cloudhost and create a new folder where the ScandiPWA package will live:
mkdir localmodules
The next step is go to the localmodules folder and run the following commands:
cd localmodules
source /opt/rh/rh-nodejs12/enable
yarn create scandipwa-app my-app
cd my-app
BUILD_MODE=magento npm run build
This is one of the biggest differences of this implementation versus the rest: it works as a regular Magento 2 theme instead of completely replacing the frontend. This helps devs and merchants to have a simpler setup and doesn’t require extra software running on the servers.
From your Magento root folder, run:
composer config repo.theme path localmodules/my-app
composer require scandipwa/my-app
php bin/magento setup:upgrade
php bin/magento cache:disable full_page
Right after this, we will configure the persistent query module that comes with the installer by running:
php bin/magento setup:config:set <FLAG> <VALUE>
--pq-host [mandatory] - persisted query redis host
--pq-port [mandatory] - persisted query redis port (6379)
--pq-database [mandatory] - persisted query redis database (5)
--pq-scheme [mandatory] - persisted query redis scheme (tcp)
Alternatively, set those configurations directly in app/etc/env.php under cache key:
'cache' => [
     'persisted-query' => [
         'redis' => [
             'host' => '<REDIS HOST>',
             'scheme' => 'tcp',
             'port' => '<REDIS PORT>',
             'database' => '5'
         ]
     ]
 ]
Now that we've built the PWA theme, we can configure the PWA theme in Magento’s admin.
Configure Magento to use PWA theme:
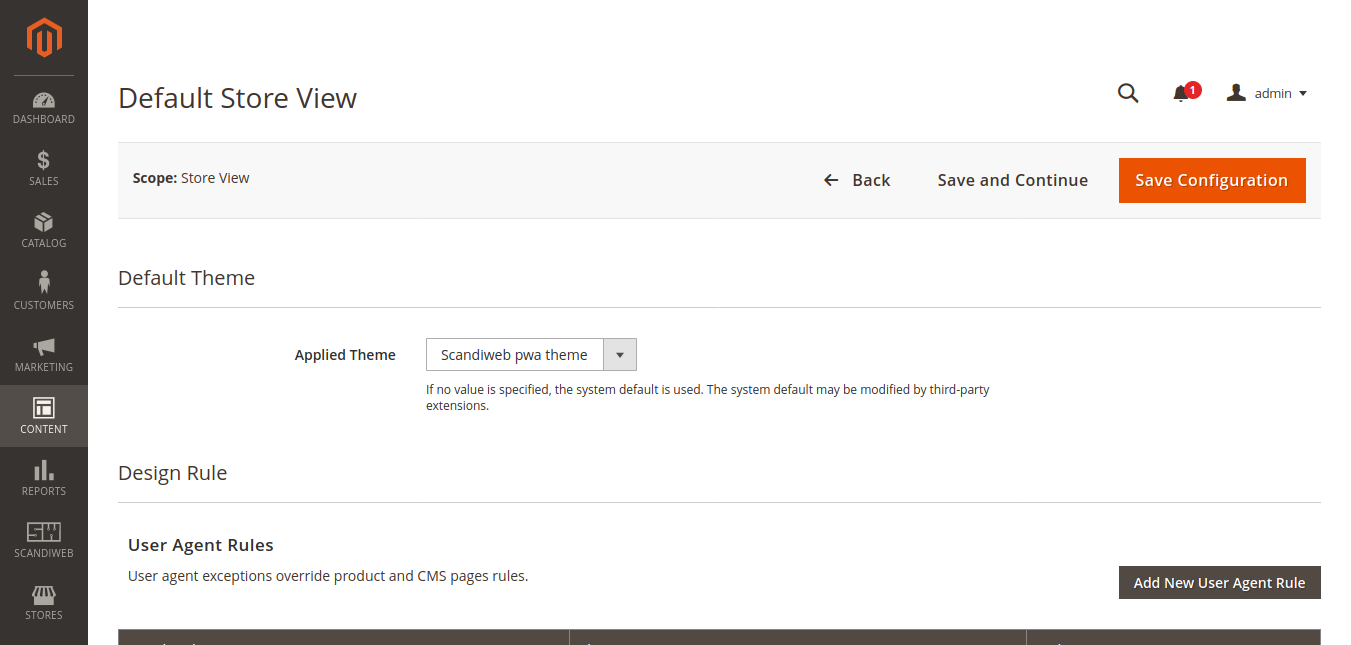
After the build process is complete, we need to select and apply the theme we just created in the Magento admin.
In the admin, go to Content -> Design -> Configuration, find the row corresponding to your store view and click Edit. Select the newly created theme under Applied Theme and click on Save configuration.

Clear the cache, put your store in production mode and open your URL in the browser.
You should see ScandiPWA theme being served instead of the regular Magento 2 Luma theme. You can still access the admin using the same url you were using before.
Known issue:
- If you don’t see the theme you just created in the admin and you run the entire process in a site that’s using production mode, you might need to run
php bin/magento deploy:mode:set production
- If you see a blinking console when you run the bootstrap command or the npm build, don’t worry. This seems to be a styling issue that won’t affect the underlying process.
ScandiPWA has an incredible set of documentation and guides. If you experienced any issues with the installation process, check this section and/or their FAQs.


